
10 Minute Blanket Forts Toddlers Can Build With You
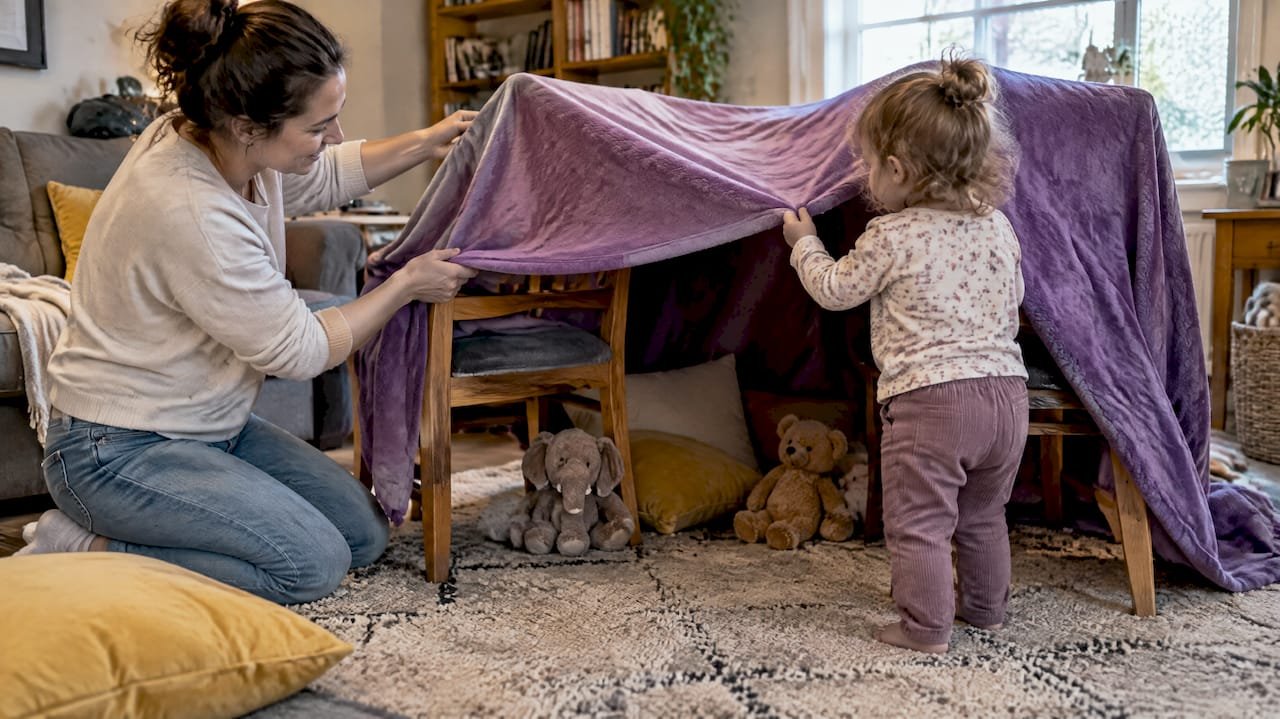
The easiest, safest blanket forts for toddlers are simple, single-level builds like a couch lean, a table-sheet cave, or a low pillow tent, all finished in about ten minutes with items you already own. Keep it single-level and stay close while your toddler plays. These low-prep designs skip risky multi-level structures and let your child help from the very first blanket.
TL;DR:
- Most toddlers can safely participate in building simple, single-level forts using household furniture within ten minutes, under adult supervision.
- Using soft weights like cushions and clothespins for securing fabrics ensures stability without risk of collapse or injury.
- Multi-level or complex forts pose higher risks of collapse and should be avoided for children under age 3 or without close supervision.
- Short, interactive activities inside the fort, like storytelling or counting games, enhance developmental benefits during brief play sessions.
- Keeping the setup minimal and small allows quick repairs and easy reinforcements to maintain safety and interest.
Table of Contents
- 1. Ten Toddler-Friendly Blanket Fort Ideas to Try Today
- 2. Materials You Already Have at Home
- 3. How to Build a Stable Blanket Fort in Ten Minutes
- 4. Safety Checklist and Supervision Tips
- 5. Turning Fort Time Into Real Learning Time
- 6. Troubleshooting Collapses and Keeping Playtime Going
- 7. Why Short, Screen-Free Play Like This Matters
- Keep the Screen-Free Momentum Going With Mooshie
- FAQ
- Sources
1. Ten Toddler-Friendly Blanket Fort Ideas to Try Today
Every idea below uses furniture you already have and takes minutes to put together. We picked these because they stay low, stay stable, and give your toddler a real job to do.
- Couch lean: drape a sheet over the back of the couch and tuck it under seat cushions.
- Table-sheet cave: throw a flat sheet over a low table and weigh the edges down with books or shoes.
- Chair tunnel: line up two or three sturdy chairs and connect them with a long blanket.
- Blanket teepee: lean two chairs together, drape fabric between them, and leave one side open as the entrance.
- Reading nook: stack floor cushions in a corner and clip a blanket to a nearby shelf edge for a roof.
- Sensory wall fort: hang a textured blanket over a chair back and tape fabric swatches at toddler height inside.
- Puppet theater fort: drape a sheet over a doorway frame low enough for your toddler to peek through.
- Picnic-pane fort: spread a flat sheet on the floor under a draped table for a “window” view out.
- Low pillow tent: pile pillows into walls and rest a light blanket across the top without any frame at all.
- Play-pen fort: if your toddler already naps in a play-pen, drape a light sheet over one corner for an instant mini fort.
Each one stays single-level, which keeps it stable and toddler-safe. Add stuffed animals or a soft flashlight placed low and out of reach of pull cords for a little extra magic.
Let your toddler choose the blanket color or pick which stuffed animal goes inside. That small decision turns the build into shared play instead of a parent-only project.
2. Materials You Already Have at Home
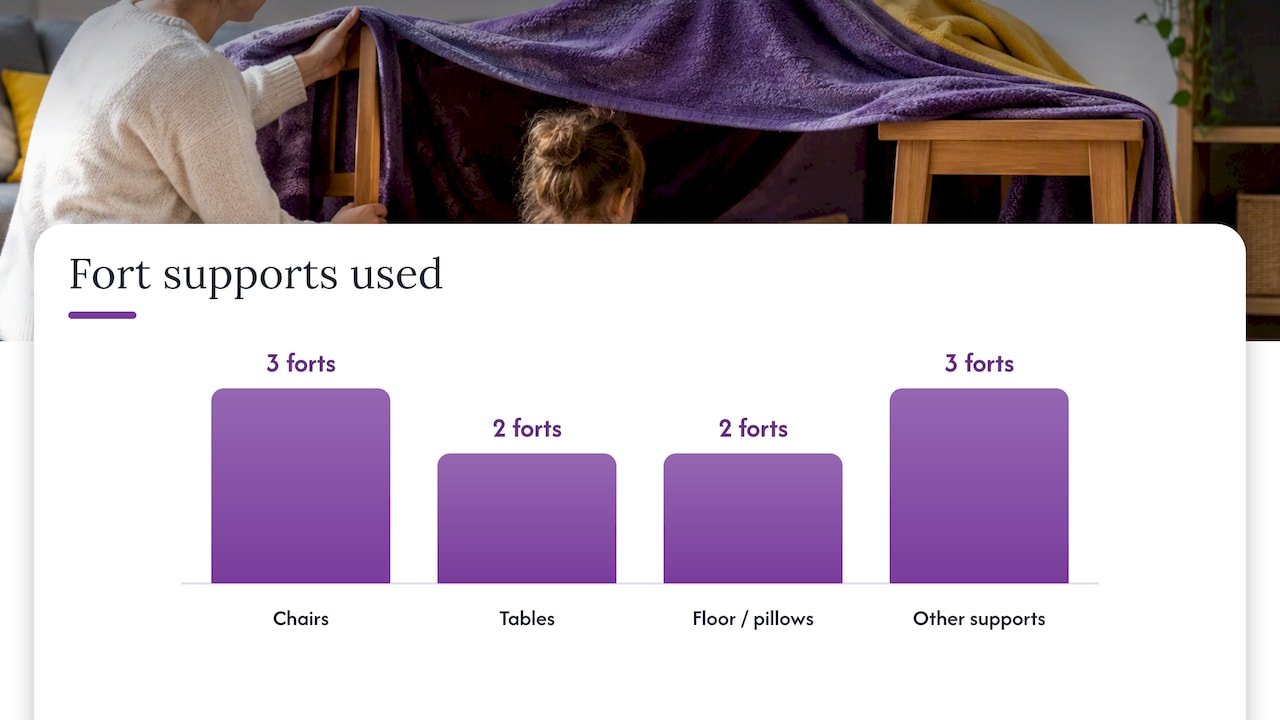
You do not need anything special for a sturdy fort. A quick look around your living room usually turns up everything required.
- Safe anchors: sofa backs, sturdy dining chairs, and low coffee tables work best.
- Soft weights: cushions and folded towels hold down blanket edges without risk.
- Safe clips: clothespins or chip clips secure fabric to furniture edges.
- Light source: a battery-powered lantern placed on the floor, never a corded lamp.
Avoid heavy books stacked on high surfaces, any cords or strings, and toys with small, detachable parts that could come loose inside the fort.
Pro Tip: Fill a small tray with clothespins, a flashlight, and a few stuffed animals so your toddler can hand you items one at a time during the build.
3. How to Build a Stable Blanket Fort in Ten Minutes
This sequence keeps the adult on anchor duty and your toddler on the fun parts, so the whole thing comes together fast and stays steady.
- Pick the space (1 minute): choose a corner near a couch or low table with nothing breakable nearby.
- Secure the roof (2 minutes): drape the sheet over your chosen anchor and tuck the high end under a cushion.
- Tuck the edges (2 minutes): weigh down the loose sides with pillows or folded towels.
- Open a clear entrance (1 minute): leave one side loose enough to flop open easily, no zippers or ties.
- Add cushions and toys (3 minutes): let your toddler carry in pillows, a stuffed animal, and a soft light.
- Final check (1 minute): make sure nothing overhead can slip and the entrance stays visible from outside.
You handle anchors and anything elevated. Your toddler handles cushions, stuffed animals, and naming colors as pieces go in, which keeps small hands busy and away from the structural parts.
| Detail | Build time | Difficulty | Recommended age |
|---|---|---|---|
| Couch lean or table cave | About 10 minutes | Easy | 3 and up, with supervision |
| Low pillow tent | About 5 minutes | Very easy | 2 and up, with supervision |
4. Safety Checklist and Supervision Tips
A fort is only as safe as its weakest anchor point, so a quick check before and during play matters more than a fancy design.
- Keep the entrance clear and visible at all times so you can see inside without moving anything.
- Avoid clutter inside the fort that could trap a small child against a wall or corner.
- Never use cords, strings, or ribbon to secure fabric; clothespins and soft weights are enough.
- Stick to soft anchors on any raised surface and skip multi-level or elevated designs entirely.
Fort building generally suits children starting around age 3 with an adult close by, though younger toddlers can join safely by handing over cushions or toys while you handle the structure.
Complex, two-story builds carry the most risk of collapse for young children. Single-level designs anchored to soft furniture stay far steadier and are easier to supervise.
5. Turning Fort Time Into Real Learning Time
The best part of a blanket fort is not the finished structure, but the sensory play and child development it encourages. It is everything your toddler does while helping build it. Letting your child pick a cushion, choose a stuffed animal, or decide where the entrance goes builds autonomy and fine motor skills in a way a perfectly built fort never could.
Once the fort is up, a few short additions turn it into a mini learning session:
- A two-minute story starter: “Once upon a time, inside this fort…”
- A simple counting game with stuffed animals lined up along one wall.
- A sensory touch bag filled with fabric scraps, a soft ball, and a pinecone.
- A naming game where your toddler points to colors or shapes on the blankets.
Short bursts like these, run in five to ten minutes, match how briefly toddlers hold focus, and they fit naturally into the kind of quick, screen-free play we build our own activity suggestions around at Mooshie Moments.
6. Troubleshooting Collapses and Keeping Playtime Going
If the fort keeps sagging, the fix is almost always to go smaller. Shorten the span between anchors, lower the roofline, and swap any book or shoe weight for a cushion instead. Then check every attachment point for slack before your toddler goes back in.
If interest fades after a few minutes, a quick two-minute puppet show or a mini treasure hunt for hidden stuffed animals usually brings it right back. A short story read aloud inside the fort works just as well.
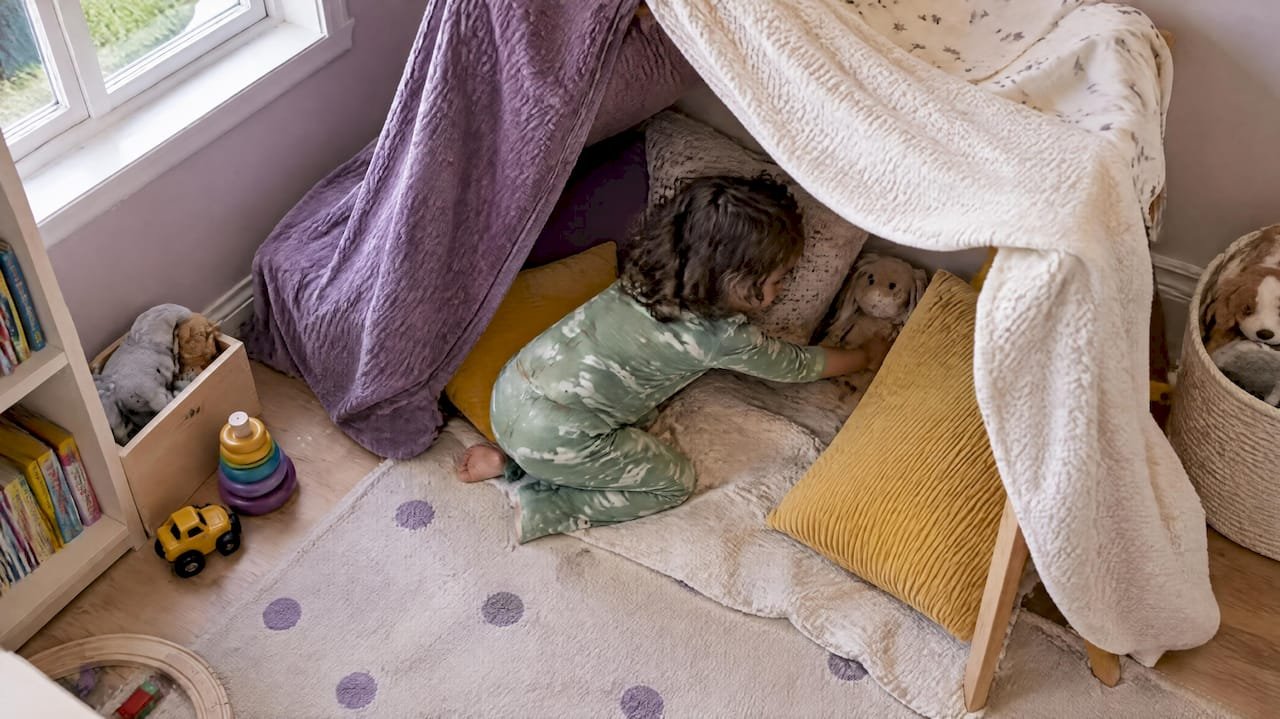
When space is tight, skip the full build. A single blanket draped over one sturdy chair, or a sheet tossed over a play-pen corner, gives the same cozy hideaway with almost no setup.
Pro Tip: Keep one favorite blanket set aside just for fort day. Toddlers recognize it and get excited the moment it comes out.
7. Why Short, Screen-Free Play Like This Matters
We think the real value of a blanket fort has nothing to do with how it looks. It is in the ten minutes your toddler spends choosing, carrying, and naming things alongside you, away from any screen. That kind of short, hands-on play builds confidence in a way a tidy, parent-built structure cannot. Give it a try today and see how far one sheet and ten minutes can go.
— samit
Keep the Screen-Free Momentum Going With Mooshie
Building a fort is a great start, and keeping the momentum going is easy with Mooshie, our app offering quick, age-tailored activity suggestions using only household items, no screens and nothing extra to buy. Every idea comes with a plain-language explanation of why it helps your toddler grow.

For more five-minute ideas once the fort comes down, check our activities for two-year-olds or open the app to find your next quick, screen-free moment together.
FAQ
What age is appropriate for fort building?
Meaningful fort-building participation generally works well starting around age 3 with an adult supervising closely. Younger toddlers can still join in safely by handing over cushions or stuffed animals while an adult manages the structure.
What are the best forts for toddlers?
Single-level designs like a couch lean, a table-sheet cave, or a low pillow tent work best because they stay stable and skip any risky elevated parts. These builds use furniture you already have and come together in about ten minutes.
How do you make a two-story blanket fort?
Two-story or multi-level forts are not recommended for toddlers, since instability and collapse risk are the main hazards with taller, more complex builds. A safer approach is one sturdy single-level fort paired with a separate low pillow tent nearby for a second play spot.
Is there a kit for building forts for children?
Pre-made fort kits exist, but any kit should be checked for small detachable parts, magnets, or loose fittings before a toddler plays with it. A plain sheet, a sturdy chair or couch, and a few cushions build a sturdier, simpler fort without needing a kit at all.
Recommended
- 12 Low Prep Toddler Activities for Grandparents With Seated Options
- 40 Fun 2 Year Old Activities to Start Right Now
- Junk Modelling for Toddlers: Easy EYFS-Aligned Activities
- Taste Safe Sensory Play: Top 10 Ideas for Mouthing Toddlers
Want a new idea every day, matched to your child's age?
Mooshie Moments gives you simple, guided play ideas for ages 6 months to 4 years.
Download free on the App StoreMore like this
Babysitting Toddlers: 12 Low Prep Ideas and Why They Help
Explore 12 low prep toddler activities for babysitters, with developmental benefits, age adaptations, UK safety advice, and optional activity coaching.
10 EYFS Backed Sock Games for Toddlers Under Five Minutes
Ten EYFS aligned sock games to start in under five minutes, each with a one line developmental benefit, simple adaptations, and two…
Busy Parents: 12 No Prep Shopping Activities for Toddlers
Busy parents: keep toddlers learning and calm at the store with 12 no prep, screen free activities that take under five minutes…