How to Make Sensory Bottles (and When to Use Them)

PLAY IDEAS · 6 MONTHS TO 4 YEARS

How to Make Sensory Bottles (and When to Use Them)

How to make sensory bottles safely, with six recipes and activity ideas from the Mooshie Moments app. The sealing step matters most, so start there.

  • Free to download
  • No account needed
  • No screen time for your child
QR code to download Mooshie MomentsOn a laptop?
Scan to get Mooshie on your iPhone.
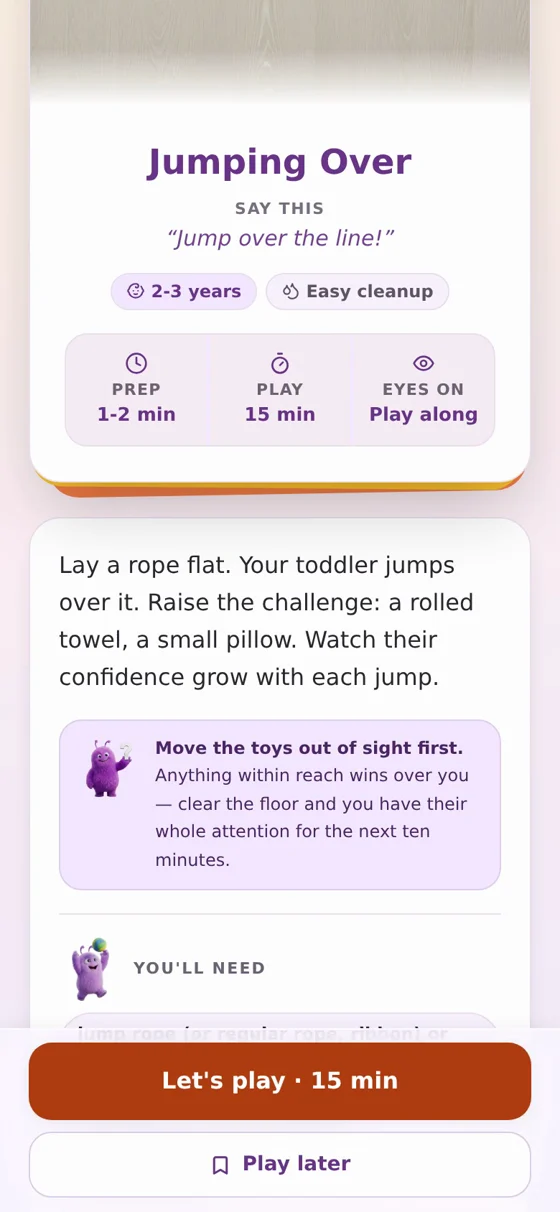
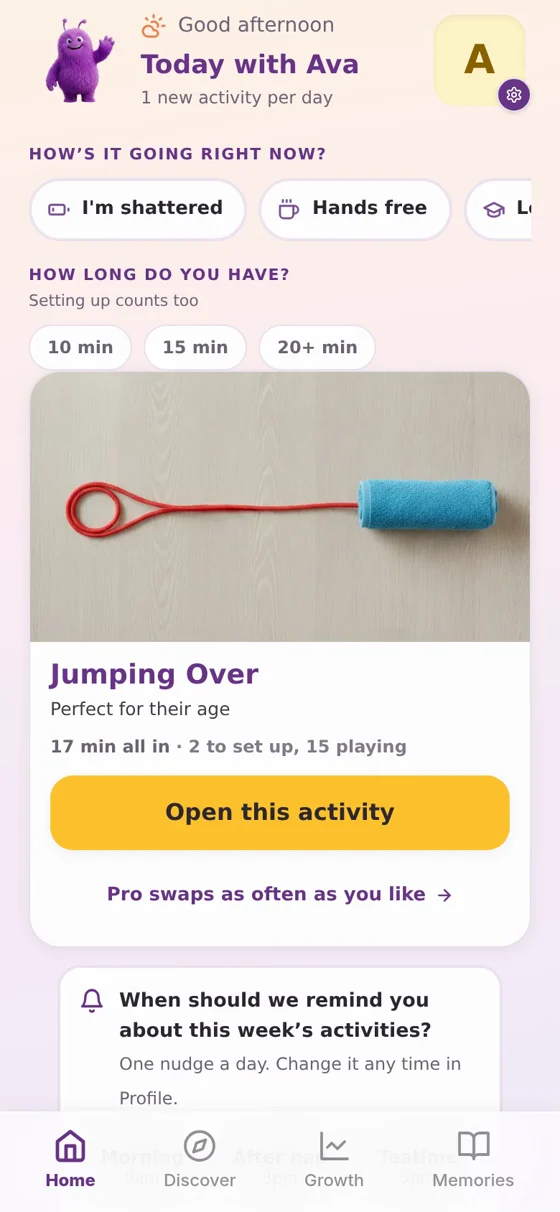
Mooshie activity screen with Say this words to useMooshie Today screen with mood and time options and today's activity
8free ideas on this page
5,918activities for 6 months to 4 years
Say thisthe exact words on every activity
0child details uploaded, ever

Sensory bottles are simple to make, but the one step that actually matters is sealing them properly, and it’s the step most tutorials rush past. A clear bottle filled with glitter, rice or oil looks lovely in a photo, but if the lid isn’t glued and taped shut, it’s a choking and ingestion risk sitting on your shelf. Get the sealing right and everything else about sensory bottles is genuinely easy.

This page walks through choosing a bottle, sealing it properly, six simple recipes to fill it with, and then a set of bottle-based activities from the Mooshie Moments app for children aged 6 months to 4 years. It sits alongside our wider sensory play page if you want more ideas beyond bottles. Everything here uses things you already have at home.

Choosing and sealing your bottle

Any small, clear plastic bottle with a screw cap works: a washed water bottle, a small juice bottle or a spice jar for older children. Avoid glass entirely. Once it’s filled, this is the sequence that keeps it safe:

  1. Fill the bottle no more than two-thirds full so the contents can move around and make a sound or a swirl.
  2. Screw the cap on tightly.
  3. Run a line of strong glue right around the neck of the bottle, under the cap.
  4. Wrap the join with strong tape, going right around the neck at least twice.
  5. Shake it hard yourself, upside down, before it goes anywhere near your child.
  6. Check the seal every time you bring the bottle out again, and bin it the moment it loosens, leaks or cracks.

Never leave a sensory bottle within reach unsupervised, however well it’s sealed, and treat any bottle containing small items as a choking hazard if it ever splits.

Six simple sensory bottle recipes

Glitter calm bottle.

Warm water, a squeeze of clear glue or hair gel, and a spoonful of fine glitter. Shake and watch it drift slowly to the bottom.

Rice and objects I-spy.

Dry rice with a handful of tiny objects, buttons, beads or small toys, buried inside. Shake and hunt for each one through the plastic.

Oil and water.

Water topped up with vegetable oil and a drop of food colouring. The two never mix, so every shake makes new bubbles and swirls.

Colour mixing bottle.

Water tinted with a primary colour in two matching bottles, so your child can compare what happens if they were combined.

Sound shakers.

Dried beans, rice or pasta sealed inside, each bottle a different sound.

Nature bottle.

Small pressed leaves, petals or twigs from the garden, dropped into water or left dry, so a nature walk keeps giving after you’re home.

Bottle activities from the app

6 to 12 months10 minutes

1. Sound shakers

Seal a different dry filling into each bottle, then let your baby shake each one and notice the sound changes.

You’ll need: three clear bottles, dried beans, rice and pasta, strong glue and tape

How to play
  1. Part-fill three bottles with beans, rice and pasta separately.
  2. Cap, glue and tape each one, then test by shaking hard yourself.
  3. Shake the first slowly: “listen, shake shake shake.”
  4. Hand it over, then swap to the next after a minute or two.
1 to 2 years10 minutes

2. Shaker exploration basket

Fill a basket with sealed shakers and let your toddler pick one up, shake it and move to the next at their own pace, with no set order.

You’ll need: a few sealed bottle shakers, a basket

Say this: “Shake, shake!” · “What a sound!” · “You’re making music!”
3 to 4 years10 minutes

3. Lap-tray discovery bottles

Fill several bottles with different contents, from bells to glitter, and let your child shake, rotate and compare them side by side on a tray.

You’ll need: clear bottles, rice, pasta, bells, glitter, hot glue or strong tape

How to play
  1. Fill and seal each bottle with a different content.
  2. Arrange them on the tray: “shake them, listen, watch!”
  3. Name the sounds as they go: “that one crinkles, this one jingles.”
  4. Let them pass bottles back and forth, comparing.
1 to 2 years10 minutes

4. Rain stick shaker

Part-fill a bottle with rice, seal it thoroughly, then tilt it slowly for a soft pitter-patter or shake it fast for a “storm”, singing a rain song alongside.

You’ll need: an empty bottle, rice, glue and tape

Say this: “Pitter patter.” · “A storm!”
3 to 4 years10 minutes

5. Predictable sound pattern shaker

Shake in a repeating rhythm, shake-shake-shake, stop, and let your child anticipate what comes next. Consistent, predictable sound is especially calming for children who find sudden noise overwhelming.

You’ll need: sealed bottles with beans or rice

How to play
  1. Shake slowly three times, then stop: “shake, shake, shake, stop.”
  2. Wait in silence for a beat.
  3. Repeat the exact same rhythm again.
  4. Let your child take over shaking and keep the pattern going.
2 to 3 years15 minutes

6. Shaker making with two bottles

Fill one bottle a third full with rice, and a second with lentils, sealing both thoroughly. Compare the two sounds side by side once your child has explored each.

You’ll need: two clean bottles, rice, a few lentils, strong glue and tape

Say this: “Listen.” · “This one sounds different.” · “Fast or slow?”
2 to 3 years20 minutes

7. Classic sensory bottle: water, glitter, oil

Fill bottles with water and glitter, adding oil to one, then seal and let your child tip them to watch everything move at different speeds.

You’ll need: clear bottles, water, glitter, oil, glue and tape

How to play
  1. Fill each bottle with water and glitter, oil in one of them.
  2. Cap, glue and tape, then test each one hard yourself.
  3. Let your child turn each bottle over: “what happens if you turn it?”
  4. Use sensory words as they watch: “slow, fast, swirly.”
1 to 2 years5 to 10 minutes

8. Spray bottle splash

A different kind of bottle play: fill a spray bottle with water and let your toddler squeeze the trigger to spray a plant or the garden. The immediate cause-and-effect of squeeze-then-spray is just as satisfying as a shaken bottle, and it’s a good way to build hand strength alongside it.

You’ll need: a spray bottle, water, a towel

Say this: “Watch, water comes out when you squeeze!” · “You made it spray!”

Using a calm bottle

A glitter or oil bottle can double as a “calm down bottle” during a wobble, not as a fix for the feeling but as something to focus on while it passes, alongside the other ideas on our toddler tantrums page. Keep the language simple and low-key: “shall we watch the glitter bottle while we wait for the big feeling to go?” Sit together, shake it once, and let your child watch it settle in silence rather than talking them through it. It won’t stop a meltdown outright, but it gives a shared, predictable thing to do together until the storm passes.

Hundreds more ideas like these are waiting in the app.

Plus one picked for your child every day, matched to their age and how today is going.

LOVED BY FAMILIES

Parents and experts on Mooshie

“I used to spend 30 minutes looking for an activity on Pinterest, get overwhelmed, and just turn on the TV. Mooshie takes 5 seconds.”
Sarah J.Mum of a 2-year-old
“Finally, an app that tells me to put my phone away. The activities are actually doable with stuff I have in my junk drawer.”
Mark D.Dad of two
“As a pediatric OT, I love that these activities build core developmental skills without feeling like ‘homework’ for parents.”
Dr Emily R.Paediatric occupational therapist
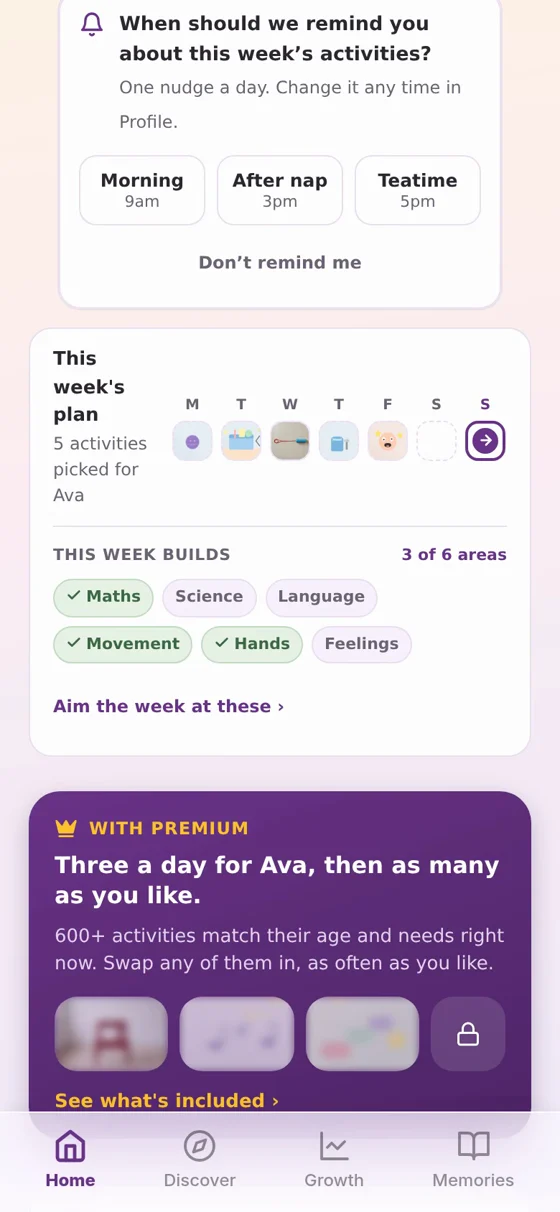
This week's plan showing five activities and the areas they build
HOW MOOSHIE HELPS

How Mooshie helps with sensory bottles and calm-down moments

Mooshie Moments has 5,918 activities for children aged 6 months to 4 years, all using things already at home, and picks one for your child’s age and stage each day. Alongside everyday play, it includes lifesavers for hard moments like meltdown recovery, so a calm bottle idea sits within a wider set of tools rather than standing alone.

  • Say this phrases and safety notes come with every activity, including the sealing steps above.
  • Additional needs can be added, including autism and sensory processing, so predictable, low-stimulation activities like shakers are surfaced when they’re relevant, with adaptation tips alongside them.
  • Tap “We’re done” to see “What that built.”
  • Nothing to pay to start and nothing to sign up for; just a new activity every day.

Mooshie lives on your phone, not in your child’s hands. Check the idea, glue the lid, then put the phone away.

Questions parents ask

What is the safest way to seal a sensory bottle?

Glue around the neck under the cap, then wrap it tightly with strong tape, and always test it by shaking hard yourself before it goes near your child. Check the seal every time you bring it back out.

What should I put inside a DIY sensory bottle?

Water, oil, glitter, dry rice, dried beans, small buttons or beads, and small nature finds all work well. Keep the contents sealed in permanently, since none of it is meant to come back out.

Can sensory bottles help with tantrums?

Many parents use a calm bottle as something to focus on together while a big feeling passes, though it works alongside comfort and reassurance rather than instead of it. It’s not a guaranteed fix, but a shared, predictable activity often helps.

Are sensory bottles good for autistic children?

Many autistic children respond well to the predictable, repeatable sound and movement a sealed bottle offers, since nothing about it changes or surprises. See our autism-friendly activities page for more along these lines. As always, follow your own child’s preferences, since sensory responses vary a great deal from child to child.

How long do sensory bottles last?

A well-sealed bottle can last months, but check it every time before handing it over, and replace it immediately if the seal loosens, the plastic cracks, or the contents look like they’re leaking.

Mooshie is a play app, not medical advice. If you’re worried about your child’s development, speak to your health visitor or GP.

Make memories. Build skills. Play together.

Your first moment is ready as soon as you tell us their age.

Mooshie MomentsFree on iPhone
Get it free