EYFS Tuff Tray Ideas: Ready-to-Run Activities
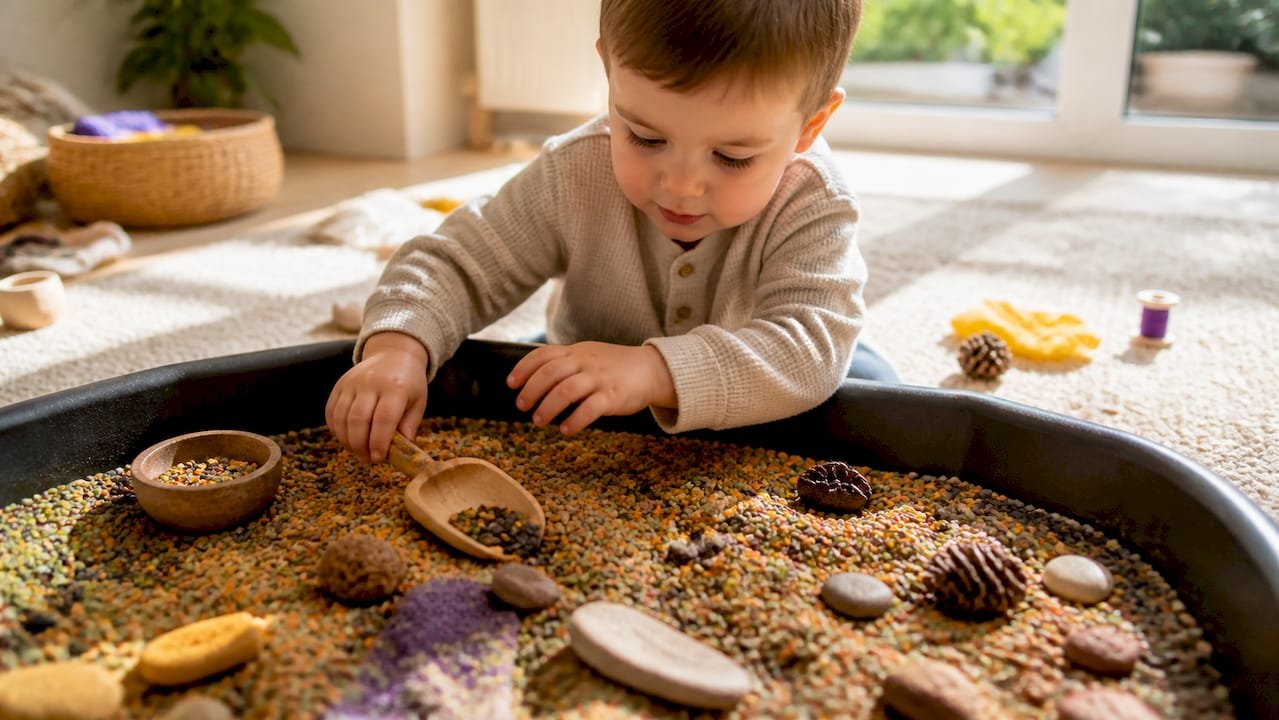
Here are the highest-impact EYFS tuff tray ideas you can set up today, each with a one-line learning purpose so you can pick by outcome:
- Small-world beach tray (sand, shells, sea creatures) — Understanding the World, language and vocabulary building. Prep: 5 min.
- Dinosaur dig (kinetic sand or soil, buried plastic dinosaurs) — Imaginative play, early science vocabulary. Prep: 10 min.
- Sensory ice rescue (toys frozen in a block of water, pipettes, warm water) — Physical Development, early scientific thinking. Prep: previous day.
- Messy mark-making (shaving foam spread across the tray, mark-making tools) — Literacy, fine motor control. Prep: 5 min.
- Edible cereal shop (coloured cereals, scoops, small cups, price labels) — Maths, Communication and Language. Prep: 10 min.
- Phonics fishing (magnetic letters or laminated fish with sounds, fishing rods) — Literacy, phonological awareness. Prep: 15 min.
- Sensory counting tray (dyed rice, number cards, loose parts for counting) — Mathematics, fine motor. Prep: 10 min.
- Construction tray (gravel, small bricks, vehicles, road signs) — Understanding the World, spatial reasoning. Prep: 10 min.
- Nature discovery tray (soil, leaves, bark, mini-beasts or figurines) — Understanding the World, scientific observation. Prep: 5 min.
- Seasonal/topical tray (e.g., autumn leaves and conkers, Christmas baubles and fake snow, spring flowers and soil) — Expressive Arts, seasonal vocabulary. Prep: 5–15 min.
Tuff trays are larger than a standard sensory bin, which makes them especially well-suited to group play and the kind of collaborative EYFS tasks where several children explore together. That size advantage is exactly why they have become a staple in nurseries and Reception classrooms across the UK. Mooshiemoments builds on this by offering age-tailored tuff tray activity suggestions directly in the app, so busy practitioners and parents can find a curriculum-linked idea in seconds rather than scrolling through endless Pinterest boards.
Key Takeaways
The most effective EYFS tuff tray activities combine a simple sensory base with open-ended loose parts, a clear EYFS learning link, and a short observation prompt so practitioners can document what they see.
| Point | Details |
|---|---|
| Start with three reliable bases | Keep dyed rice, sand, and shredded paper stocked; swap loose parts to create fresh activities in under two minutes. |
| Link every tray to an EYFS area | Match the tray type to a specific Early Learning Goal before setup so your planning documentation writes itself. |
| Observe rather than direct | Use the three observation prompts in this article to capture language, grip, and problem-solving during play. |
| Safety check before every session | Remove any loose part smaller than a 50p coin for children under three and check the allergy register before edible trays. |
| Mooshiemoments for faster planning | The app’s age-filtered suggestions and nursery printable packs reduce tuff tray planning to a few minutes per session. |
Table of Contents
- What do you need to set up a tuff tray safely?
- Expanded tuff tray activity ideas by category
- How do you map tuff tray activities to EYFS goals?
- What printable templates work best on a tuff tray?
- How do you fix common tuff tray problems?
- How does Mooshiemoments support tuff tray planning?
- What actually makes a tuff tray worth setting up?
- Mooshiemoments makes tuff tray planning faster for nurseries and parents
- Sources
What do you need to set up a tuff tray safely?
Getting the basics right saves time every single week. Keep a small stock of reliable sensory bases and a box of loose parts, and you can build a fresh tray in minutes.
Sensory bases at a glance
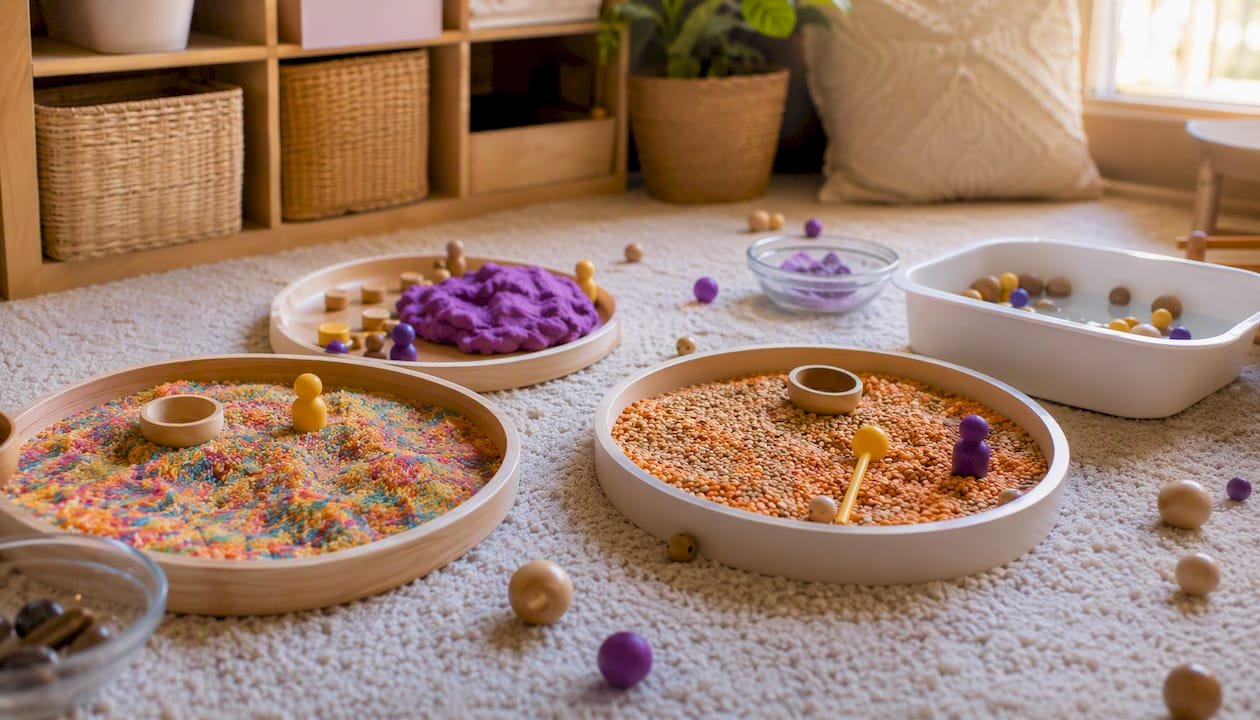
Common sensory bases include dried rice, lentils, playdough, shaving foam, water, ice, and soil, and each pairs naturally with loose parts such as natural objects, small figurines, and recycled household items to support scooping, pouring, sorting, and imaginative storytelling.
| Base | Texture | Prep time | Storage notes |
|---|---|---|---|
| Dyed rice | Dry, granular | 15–30 min (dye day before) | Airtight tub; reuse up to 4 weeks |
| Lentils | Dry, smooth | 2 min | Airtight tub; check for moisture |
| Playdough | Soft, mouldable | 10 min (homemade) | Sealed bag or tub; lasts 1–2 weeks |
| Shaving foam | Wet, fluffy | 1 min | Single-use; wipe tray clean after |
| Water | Wet, fluid | 1 min | Drain after use; dry tray fully |
| Ice | Cold, solid | Freeze overnight | Use same day; drain melt water |
| Soil/compost | Gritty, natural | 2 min | Store in bag; replace weekly |
Sensory play actively supports fine motor development and early scientific thinking. When children mix textures, observe ice melting, or pour lentils between containers, they are building cause-and-effect understanding in a way that feels like pure fun.
Hygiene, safety, and allergy checklist
- Allergy check first. Before any edible tray (cereal, jelly, pasta), check the setting’s allergy register and send a note home to parents.
- Label edible vs. non-edible. Use a simple colour-coded sticker system on your storage tubs so any adult can tell at a glance.
- Supervise small parts. Loose parts smaller than a 50p coin are a choking risk for children under three. Swap to larger items (big pebbles, chunky buttons) for toddler groups.
- Shaving foam caution. Check for skin sensitivities before use. Rinse children’s hands immediately after play.
- Cleaning routine. Wipe the tray with a food-safe antibacterial spray after each wet or messy session. Dry fully before storing to prevent mould.
- Outdoor trays. Check for insects, sharp debris, or standing water before children engage with an outdoor tuff tray.
Storage and sustainability
Keeping three reliable bases on rotation (rainbow rice, sand, and shredded paper work well) and swapping only the loose parts and prompts is the most practical way to reduce planning overhead while keeping activities fresh. Laminate paper pads and number mats so they survive multiple sessions. A simple base-and-swap system means you can refresh a tray in under two minutes.
Expanded tuff tray activity ideas by category
Practitioners consistently return to small-world, ice-melting, and messy art setups because they offer high engagement and genuine repeat play value. The categories below cover the full range, from quiet sensory exploration to active learning trays.
Small-world trays
Beach tray
Materials: Sand, shells, pebbles, small sea creature figurines, blue cellophane or water beads for the “sea.”
- Pour sand into two-thirds of the tray to create a beach.
- Add blue cellophane or a shallow layer of water for the sea section.
- Scatter shells, pebbles, and sea creatures for children to arrange and explore.
EYFS links: Understanding the World (ELG: The Natural World); Communication and Language (vocabulary: shore, creature, habitat).
Extend: Add a magnifying glass and a simple identification sheet. Simplify: Remove the water element for younger toddlers.
Farm tray
Materials: Soil or green-dyed rice, farm animal figurines, fences, small trees.
- Spread soil or rice as the base.
- Press in small fences to create fields.
- Add animals and trees for children to sort and role-play.
EYFS links: Understanding the World; Expressive Arts and Design (ELG: Creating with Materials).
Extend: Introduce animal sound cards or simple non-fiction books about farms alongside the tray.
Dinosaur dig
Materials: Kinetic sand or damp soil, plastic dinosaurs, small brushes, spoons.
- Bury dinosaurs at varying depths in the base material.
- Provide brushes and spoons as excavation tools.
- Invite children to dig, discover, and name what they find.
EYFS links: Understanding the World (ELG: The Natural World); Physical Development (fine motor, tool use).
Extend: Add dinosaur name cards for early reading. Simplify: Leave dinosaurs partially visible for younger children.
Sensory and ice trays
Ice rescue
Materials: Small toys or animals frozen in a block of water (freeze overnight), pipettes, warm water, salt.
- Place the ice block in the tray.
- Give children pipettes filled with warm water and small pots of salt.
- Encourage them to experiment with melting and freeing the trapped toys.
EYFS links: Understanding the World (ELG: The Natural World, cause and effect); Physical Development (pipette use, fine motor).
Extend: Ask “What do you think will happen if we add salt?” to introduce predict-test-observe language.
Colour mixing ice
Materials: Coloured ice cubes (food colouring added before freezing), white tray base.
- Freeze water with primary food colours in an ice cube tray.
- Place coloured cubes in the white tuff tray.
- Watch children push, mix, and observe secondary colours forming as ice melts.
EYFS links: Expressive Arts and Design; Understanding the World (colour mixing, change).
Messy and mark-making trays
Shaving foam mark-making
Materials: Shaving foam, mark-making tools (fingers, combs, sticks), optional glitter or food colouring.
- Spray shaving foam across the tray base.
- Invite children to draw letters, shapes, or patterns with their fingers or tools.
- Smooth the foam to “reset” and repeat.
EYFS links: Literacy (ELG: Writing, mark-making); Physical Development (fine motor, pencil grip preparation).
Extend: Call out a letter sound and ask children to find and write it in the foam.
Cloud dough tray
Materials: 8 cups plain flour, 1 cup baby oil, optional food colouring.
- Mix flour and oil until the dough holds its shape but crumbles when squeezed.
- Add loose parts (shells, buttons, small moulds).
- Let children mould, press, and explore freely.
EYFS links: Physical Development; Expressive Arts and Design.
Edible trays
Cereal shop
Materials: Coloured cereals (e.g., Cheerios, Frosties), scoops, small cups, simple price labels, play coins.
- Pour cereals into sections of the tray.
- Set up scoops, cups, and price labels.
- Children role-play buying and selling, counting out coins.
EYFS links: Mathematics (ELG: Number, counting); Communication and Language (ELG: Speaking, role-play vocabulary).
Extend: Introduce simple addition (“Two Cheerios and three Frosties — how many altogether?”).
Jelly dig
Materials: Prepared jelly (set in the tray overnight), small toys or fruit pieces buried inside.
- Make jelly in the tuff tray and refrigerate overnight.
- Bury small toys or fruit pieces before it fully sets.
- Children dig, squish, and discover — fully edible and safe for all ages.
EYFS links: Physical Development; Communication and Language (texture vocabulary: wobbly, cold, slimy).
Learning-linked trays
Practitioners often incorporate numeracy and literacy into tuff trays using printable resources and book-based setups to support language and early maths development.
Phonics fishing
Materials: Magnetic fishing rods, laminated fish cards with letters or CVC words, shallow water or blue rice base.
- Scatter fish cards across the base.
- Children fish for a card, say the sound or blend the word.
- Sort fish into sound baskets.
EYFS links: Literacy (ELG: Word Reading, phonological awareness).
Extend: Use digraph cards (sh, ch, th) for older preschoolers.
Numicon counting tray
Materials: Numicon shapes, dyed rice or sand, number cards 1–10.
- Bury Numicon pieces in the base.
- Children find a piece, match it to the number card, and count the holes.
- Build number sequences in the rice.
EYFS links: Mathematics (ELG: Number, numerical patterns).
Seasonal and topical trays
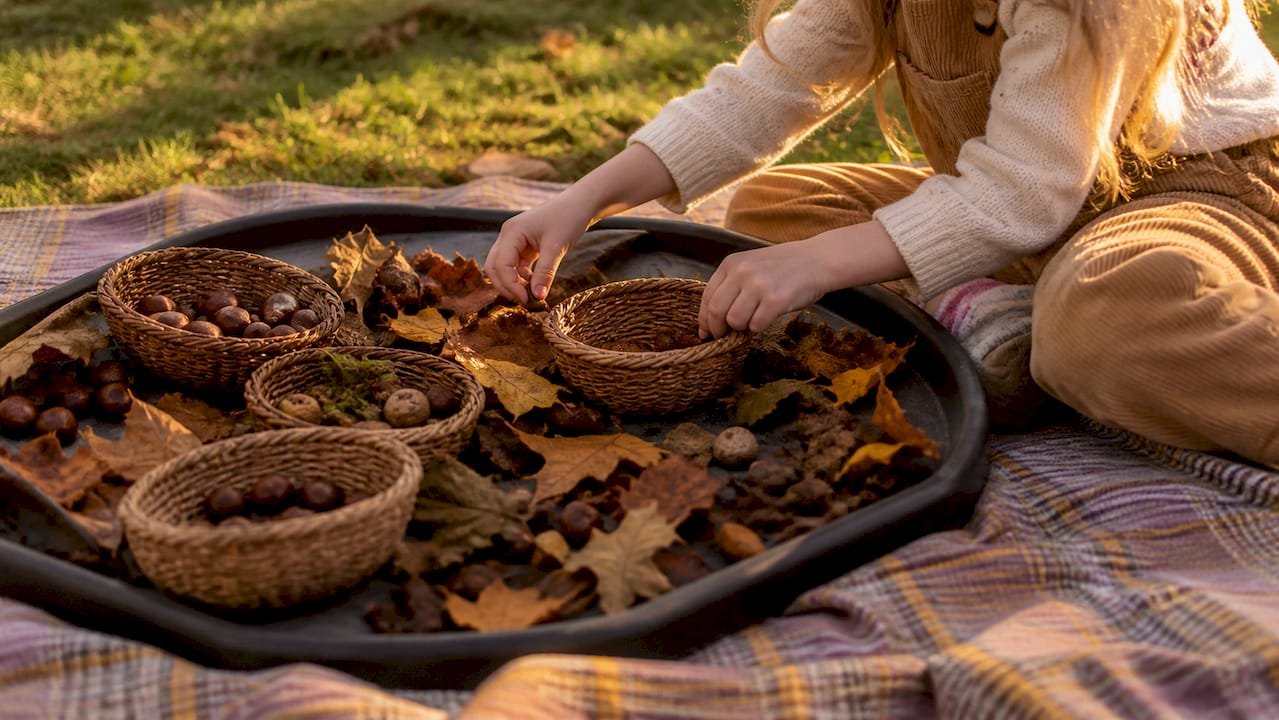
Autumn discovery
Materials: Dry leaves, conkers, acorns, small baskets, magnifying glasses.
Scatter natural materials across the tray. Add sorting baskets labelled by colour or size. Children sort, count, and observe.
EYFS links: Understanding the World; Mathematics (sorting and classifying).
Christmas small world
Materials: Fake snow (bicarbonate of soda and hair conditioner), small Christmas tree, figurines, baubles.
Mix fake snow base, add tree and figures. Children create scenes and retell stories.
EYFS links: Expressive Arts and Design; Communication and Language.
VE Day / London-themed tray
Materials: Red, white, and blue sand or rice, small Union Jack flags, London landmark figurines or printed cards.
Layer coloured bases, add flags and landmarks. Children arrange scenes and discuss what they know about London or VE Day.
EYFS links: Understanding the World (ELG: People, Culture and Communities); Communication and Language.
Spring flowers tray
Materials: Soil, seed packets, artificial flowers, watering can, gardening tools.
Fill tray with soil, add tools and flowers. Children plant, water, and role-play gardening.
EYFS links: Understanding the World; Physical Development.
Which EYFS areas do tray categories target?
Large collections of tuff tray ideas group activities into categories to help practitioners match setups to specific developmental goals.
| Tray category | Primary EYFS area | Secondary EYFS area |
|---|---|---|
| Small-world | Understanding the World | Communication and Language |
| Sensory/ice | Physical Development | Understanding the World |
| Messy/mark-making | Literacy | Physical Development |
| Edible | Communication and Language | Mathematics |
| Learning-linked (phonics/maths) | Literacy or Mathematics | Physical Development |
| Seasonal/topical | Understanding the World | Expressive Arts and Design |
| Nature discovery | Understanding the World | Physical Development |
How do you map tuff tray activities to EYFS goals?
Linking your tray to a specific EYFS area takes less than a minute when you know the framework. The seven EYFS areas map naturally onto the categories above, and most trays touch at least two.
Mapping tray types to EYFS areas
- Communication and Language — any tray with role-play props, story scenes, or vocabulary cards (farm, beach, cereal shop).
- Physical Development — trays requiring tool use, pouring, pinching, or moulding (ice rescue, cloud dough, playdough).
- Literacy — phonics fishing, shaving foam mark-making, alphabet trails in rice.
- Mathematics — counting trays, Numicon, sorting by colour or size, cereal shop with coins.
- Understanding the World — nature discovery, ice melting, seasonal trays, small-world geography scenes.
- Expressive Arts and Design — colour mixing, cloud dough sculpting, Christmas small world, junk modelling alongside a tray.
- Personal, Social and Emotional Development — any shared tray where children negotiate, take turns, and collaborate.
Three quick observation prompts
Use these during or immediately after tray play to capture learning moments for your records:
- “What did [child’s name] do first? What language did they use to describe the materials?”
- “Did the child use tools with control? Which grip did they use — palmar, pincer, or whole-hand?”
- “Did the child show curiosity, persistence, or problem-solving? Give one specific example.”
Example learning intention and assessment note
Learning intention: The child will use a pincer grip to pick up small loose parts and transfer them between containers.
Assessment note: Observe whether the child isolates index finger and thumb, how many transfers they complete before switching strategy, and any vocabulary they use to describe what they are doing (heavy, full, empty, more).
Differentiating by age and stage
Toddlers aged 18 months to 2.5 years benefit most from open-ended sensory bases with no “right answer” — pouring, patting, and mouthing-safe materials. Preschoolers aged 3–4 years are ready for trays with a learning prompt (a phonics card, a number challenge, a predict-and-test question). The same base material can serve both groups: simply add or remove the structured prompt layer.
What printable templates work best on a tuff tray?
Paper-pad tuff tray activities such as leaf rubbings, number lines, and symmetry fold painting are a low-prep way to combine mark-making with a sensory base, and lamination makes them reusable across many sessions.
Printable templates that work well
- Number lines (1–10 or 1–20) — laminate and place in a rice or sand base; children use loose parts to mark quantities.
- Alphabet mats — children trace letters with a finger in shaving foam or playdough pressed over the mat.
- Road and transport mats — vehicles drive along laminated roads; supports spatial language and small-world play.
- Simple story scene sheets — a printed woodland or ocean background under a clear wipeable cover; children add figurines to retell or create stories.
- Symmetry fold sheets — children paint one half, fold, press, and open to reveal a symmetrical pattern.
- Numicon monster tracing sheets — children press Numicon shapes into playdough placed over the sheet, then count the holes.
Making templates reusable
Laminate at 125 microns for durability. Dry-wipe markers work well on laminated sheets and wipe clean with a damp cloth. For a budget option, slide printed sheets into clear A4 plastic wallets and tape them flat to the tray base.
Pro Tip: Place a laminated alphabet mat under a thin layer of shaving foam. Children write a letter in the foam, then lift the mat to check their own letter formation — instant self-assessment with zero marking.
Simple paper-pad activity steps
- Leaf rubbings: Place fresh leaves under a sheet of paper in the tray. Children rub a wax crayon over the paper to reveal the leaf shape. Link to Understanding the World (plant structures) and Physical Development (crayon pressure control).
- Symmetry fold paint: Fold a sheet of paper in half, open it, and drop blobs of paint on one side. Refold and press. Open to reveal a symmetrical pattern. Link to Mathematics (symmetry) and Expressive Arts.
- Numicon monster tracing: Print a simple monster outline with Numicon-shaped “spots.” Children press the matching Numicon piece into playdough over each spot. Link to Mathematics (number recognition).
The Mooshiemoments nursery partnership packs include ready-made printable templates aligned to these activities, so you can skip the design step entirely.
How do you fix common tuff tray problems?
Every setting runs into the same handful of snags. Here are quick fixes for the most common ones.
Problem-solving guide
- Waning interest after two minutes: The tray is too structured. Remove the prompt cards and let children lead. The initial “wow factor” draws children in, but open-ended loose parts are what sustain engagement — a tray should invite manipulation, not preserve a display.
- Too messy to manage: Lay a splash mat or old shower curtain under the tray. Limit wet bases to one session per day and schedule them before outdoor time so children can be hosed down if needed.
- Sharing conflicts: Introduce a simple turn-taking visual (a sand timer or a “my turn” card). Trays with enough loose parts for every child reduce competition naturally.
- Small-parts safety concern: Do a quick sweep with a 50p coin. Any loose part that fits through a 50p-sized hole is removed for groups with children under three.
- Prep time too long: Keep three reliable bases ready in labelled tubs. Rotating only the loose parts and a single prompt card means a fresh tray takes under two minutes to set up.
Extension ideas to deepen learning
- Challenge cards: Print a simple card with one question (“Can you sort by colour?” / “How many can you count?”) and prop it next to the tray. Children self-direct toward a learning goal without adult intervention.
- Predict-test-observe cards: A three-box card (“I think… / I tried… / I found out…”) placed next to an ice or colour-mixing tray builds early scientific language.
- Recording sheets: A simple two-box sheet (“I made… / I noticed…”) with space to draw gives children a way to document their own play.
- Parent take-home versions: Send a one-page “tray at home” card with a photo of the nursery setup, a short materials list using household items, and one EYFS learning note. Parents can replicate the activity with a baking tray and items from the kitchen cupboard.
Rotating base materials is the single most effective way to reduce planning fatigue while keeping novelty high. Keep three anchors (rainbow rice, sand, shredded paper) and swap the loose parts and prompts around them. Add a paper pad or a light panel to shift the activity’s purpose without touching the base.
How does Mooshiemoments support tuff tray planning?
Mooshiemoments is built for exactly the moments when you need a good idea fast. The app offers age-tailored activity suggestions filtered by the child’s age (6 months to 4 years) and the time you have available, so a five-minute window and a 30-minute session both get a relevant result.
What the app offers for tuff tray activities
- Age-tailored suggestions: Filter by age band to get activities matched to developmental stage, not just a generic list.
- Time-based filters: Choose from quick (under 10 minutes) or longer sessions. Every suggestion includes a simple materials list using household items.
- EYFS-linked developmental notes: Each activity comes with a short explanation of which developmental area it supports and what to look for during play.
- Nursery partnership features: Settings can access ready-made printable packs and parent-facing home learning cards through the Mooshiemoments nursery partnership.
A quick workflow for educators
- Open the app and select the child’s age group.
- Filter by available time (e.g., 15 minutes).
- Choose a tuff tray suggestion and tap through to the materials list and EYFS note.
- Print the accompanying parent card from the nursery pack and send it home at the end of the session.
That workflow takes about three minutes and produces both a planned activity and a parent communication piece. For busy practitioners juggling multiple children, that kind of speed matters.
Pro Tip: Use the Mooshiemoments activity ideas blog to find seasonal tray ideas (autumn, Christmas, spring) already linked to EYFS areas — no extra planning required.
What actually makes a tuff tray worth setting up?
The trays that get the most out of children are rarely the most elaborate ones. A beach tray with three shells and a scoop of sand will hold a child’s attention longer than a perfectly staged Instagram setup, because the child is doing the arranging, not admiring yours.
The real value of a tuff tray is in the invitation it creates, not the display it presents. When children are free to tip, mix, bury, and rebuild, they are working through physical, cognitive, and social challenges simultaneously. A practitioner who steps back and observes rather than directing will almost always see more learning than one who guides every move.
One thing worth saying plainly: mess is evidence of engagement. A tray that looks exactly the same at the end of a session as it did at the start probably was not used well. The best EYFS tuff tray activities are the ones children “destroy” within minutes, because destruction in this context means exploration.
Mooshiemoments makes tuff tray planning faster for nurseries and parents
Busy practitioners and parents spend real time hunting for EYFS-aligned activity ideas that are quick to set up and genuinely developmentally useful. Mooshiemoments cuts that search time significantly. The app delivers screen-free, developmentally focused activity ideas tailored by age and available time, with expert-reviewed EYFS notes built in.
For nurseries, the partnership pack includes printable tuff tray templates, parent take-home cards, and ready-made EYFS learning notes. No design work, no extra planning. For parents, the app suggests simple at-home tray versions using items already in the kitchen or garden.
- Save planning time: Age-filtered suggestions mean you spend seconds choosing, not minutes searching.
- EYFS-aligned from the start: Every activity comes with a developmental note and an EYFS area link, ready to drop into your planning documentation.
Visit the Mooshiemoments nursery partnership page to explore the printable packs and see how the home-nursery integration works.
Sources
The materials lists, EYFS mappings, and setup guidance in this article draw on the following authoritative sources. Each one is worth bookmarking for ongoing reference.
- Using Tuff Trays in your Early Years Setting
- 40 tuff tray ideas for educators
- 50 tuff tray ideas to help children learn through messy and sensory play | MadeForMums
- 50+ Tuff Tray Ideas for Toddlers & Kids (Indoor & Outdoor Play)
- Tuff Tray sensory play themes & ideas
Recommended
More like this

Five Minute Routine Activities to Help Speech Delay in UK Toddlers
Quick, routine based activities UK parents can use in 5–15 minutes to support a toddler with speech delay. Evidence backed techniques and…
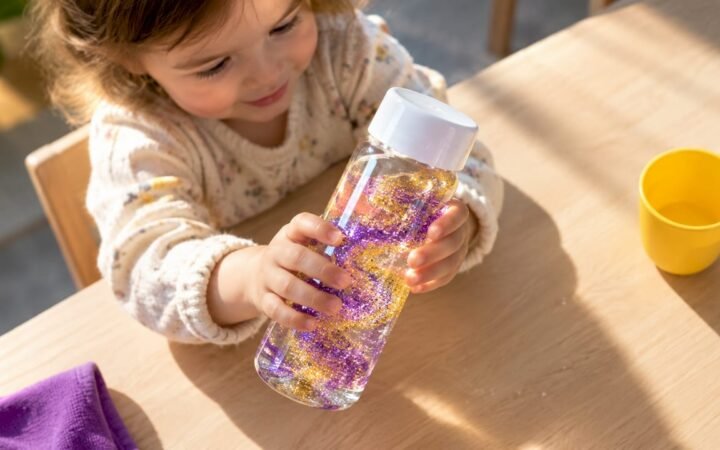
Three Minute Mess Free Sensory Play For UK Parents
Quick, reusable sensory activities UK parents can set up in minutes. Sealed bags, sticky wall art, safety checks, storage tips, and Mooshie…
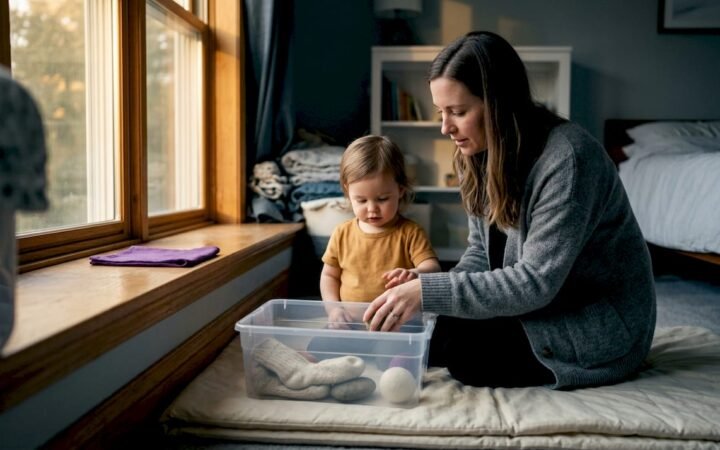
10 Quiet Bin Ideas UK Parents Can Build in 5 Minutes
Practical, EYFS-aligned quiet-bin ideas UK parents can assemble in five minutes. Includes 10 ready bins, a five-bin rotation, safety checks, and quick...